It’s a good idea to secure the SSH login with a two-factor authentication method. We will show in this article how to secure SSH with Google Authenticator.
Steps:
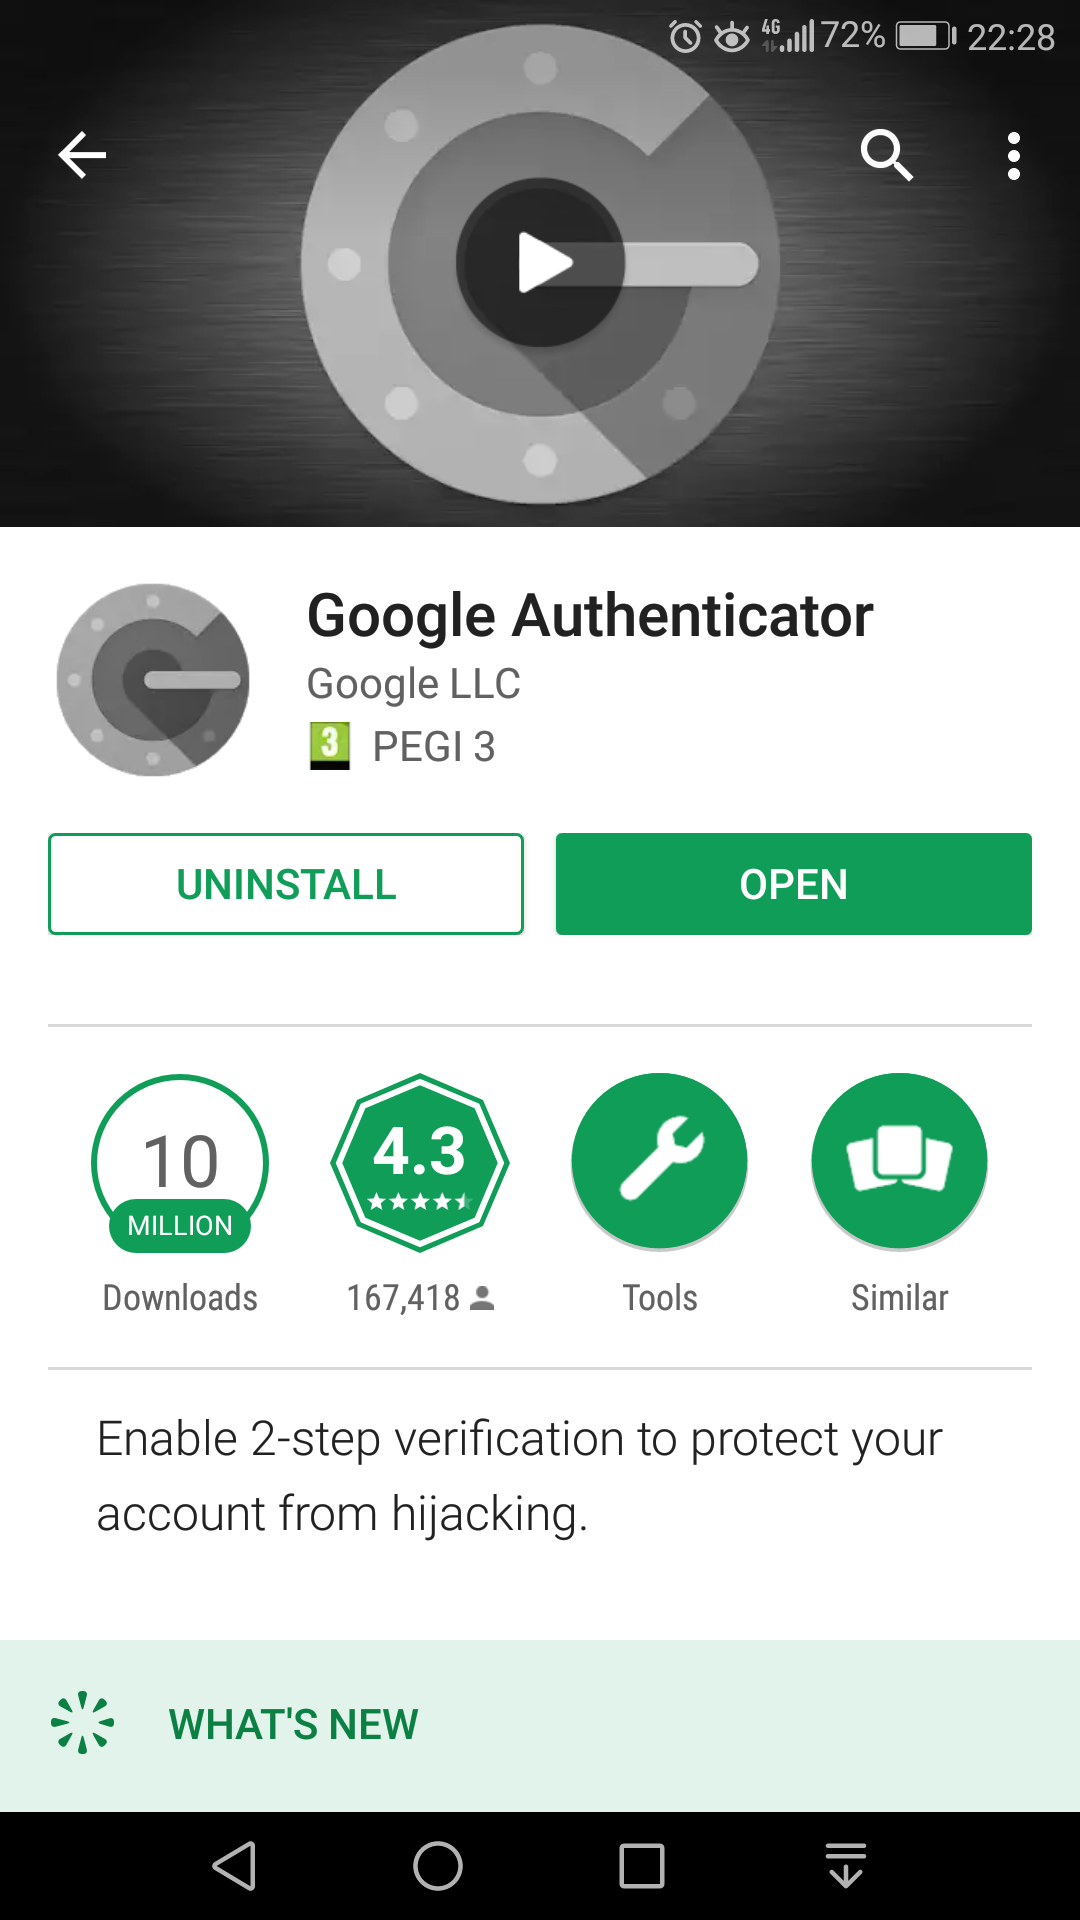
- Install the Google Authenticator from Google Play

- Install the Google Authenticator module:
[root@cwp1 ~]# yum install google-authenticator
Loaded plugins: fastestmirror
Loading mirror speeds from cached hostfile
 * base: mirror.sesp.northwestern.edu
 * epel: mirror.beyondhosting.net
 * extras: bay.uchicago.edu
 * updates: mirror.math.princeton.edu
Resolving Dependencies
--> Running transaction check
---> Package google-authenticator.x86_64 0:1.04-1.el7 will be installed
--> Finished Dependency Resolution

Dependencies Resolved

========================================================================================================================
 Package                               Arch                    Version                      Repository             Size
========================================================================================================================
Installing:
 google-authenticator                  x86_64                  1.04-1.el7                   epel                   48 k

Transaction Summary
========================================================================================================================
Install  1 Package

Total download size: 48 k
Installed size: 97 k
Is this ok [y/d/N]: y
Downloading packages:
google-authenticator-1.04-1.el7.x86_64.rpm                                                       |  48 kB  00:00:00
Running transaction check
Running transaction test
Transaction test succeeded
Running transaction
  Installing : google-authenticator-1.04-1.el7.x86_64                                                               1/1
  Verifying  : google-authenticator-1.04-1.el7.x86_64                                                               1/1

Installed:
  google-authenticator.x86_64 0:1.04-1.el7

Complete!
[root@cwp1 ~]#
- To configure the google-authenticator module use the google-authenticator command. Read the questions and ask according to your needs:
[root@cwp1 ~]# google-authenticator

Do you want authentication tokens to be time-based (y/n) y
Warning: pasting the following URL into your browser exposes the OTP secret to Google:
  https://www.google.com/chart?chs=200x200&chld=M|0&cht=qr&chl=otpauth://totp/root@cwp1%3Fsecret%3DC5ZIEY5TTOX3UNJXESKISMF2GQ%26issuer%3Dcwp1

Your new secret key is: C5ZIEY5TTOX3UNJXESKISMF2GQ
Your verification code is 604902
Your emergency scratch codes are:
  92416476
  84187850
  96774355
  80714386
  19340003

Do you want me to update your "/root/.google_authenticator" file? (y/n) y

Do you want to disallow multiple uses of the same authentication
token? This restricts you to one login about every 30s, but it increases
your chances to notice or even prevent man-in-the-middle attacks (y/n) y

By default, a new token is generated every 30 seconds by the mobile app.
In order to compensate for possible time-skew between the client and the server,
we allow an extra token before and after the current time. This allows for a
time skew of up to 30 seconds between authentication server and client. If you
experience problems with poor time synchronization, you can increase the window
from its default size of 3 permitted codes (one previous code, the current
code, the next code) to 17 permitted codes (the 8 previous codes, the current
code, and the 8 next codes). This will permit for a time skew of up to 4 minutes
between client and server.
Do you want to do so? (y/n) n

If the computer that you are logging into isn't hardened against brute-force
login attempts, you can enable rate-limiting for the authentication module.
By default, this limits attackers to no more than 3 login attempts every 30s.
Do you want to enable rate-limiting? (y/n) y
[root@cwp1 ~]#
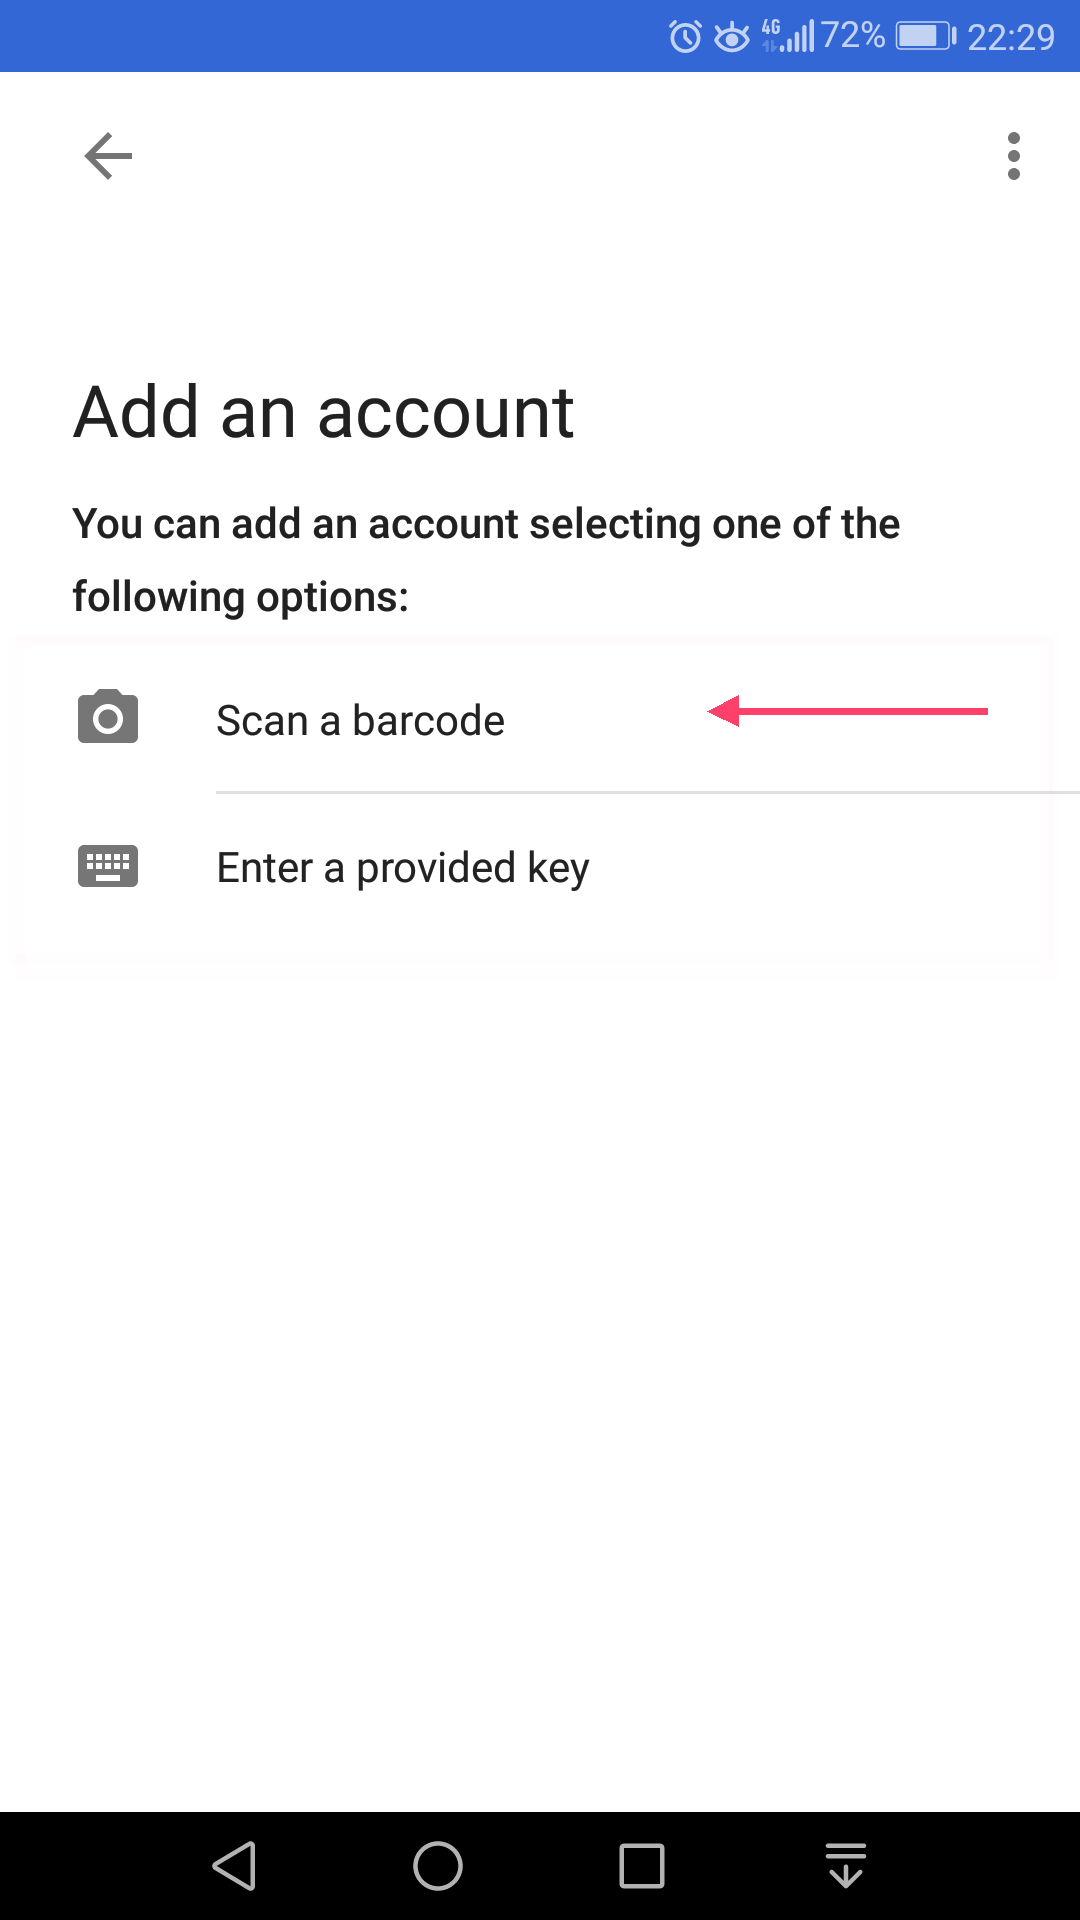
- Scan the QR code with the Google Authenticator app from your phone:

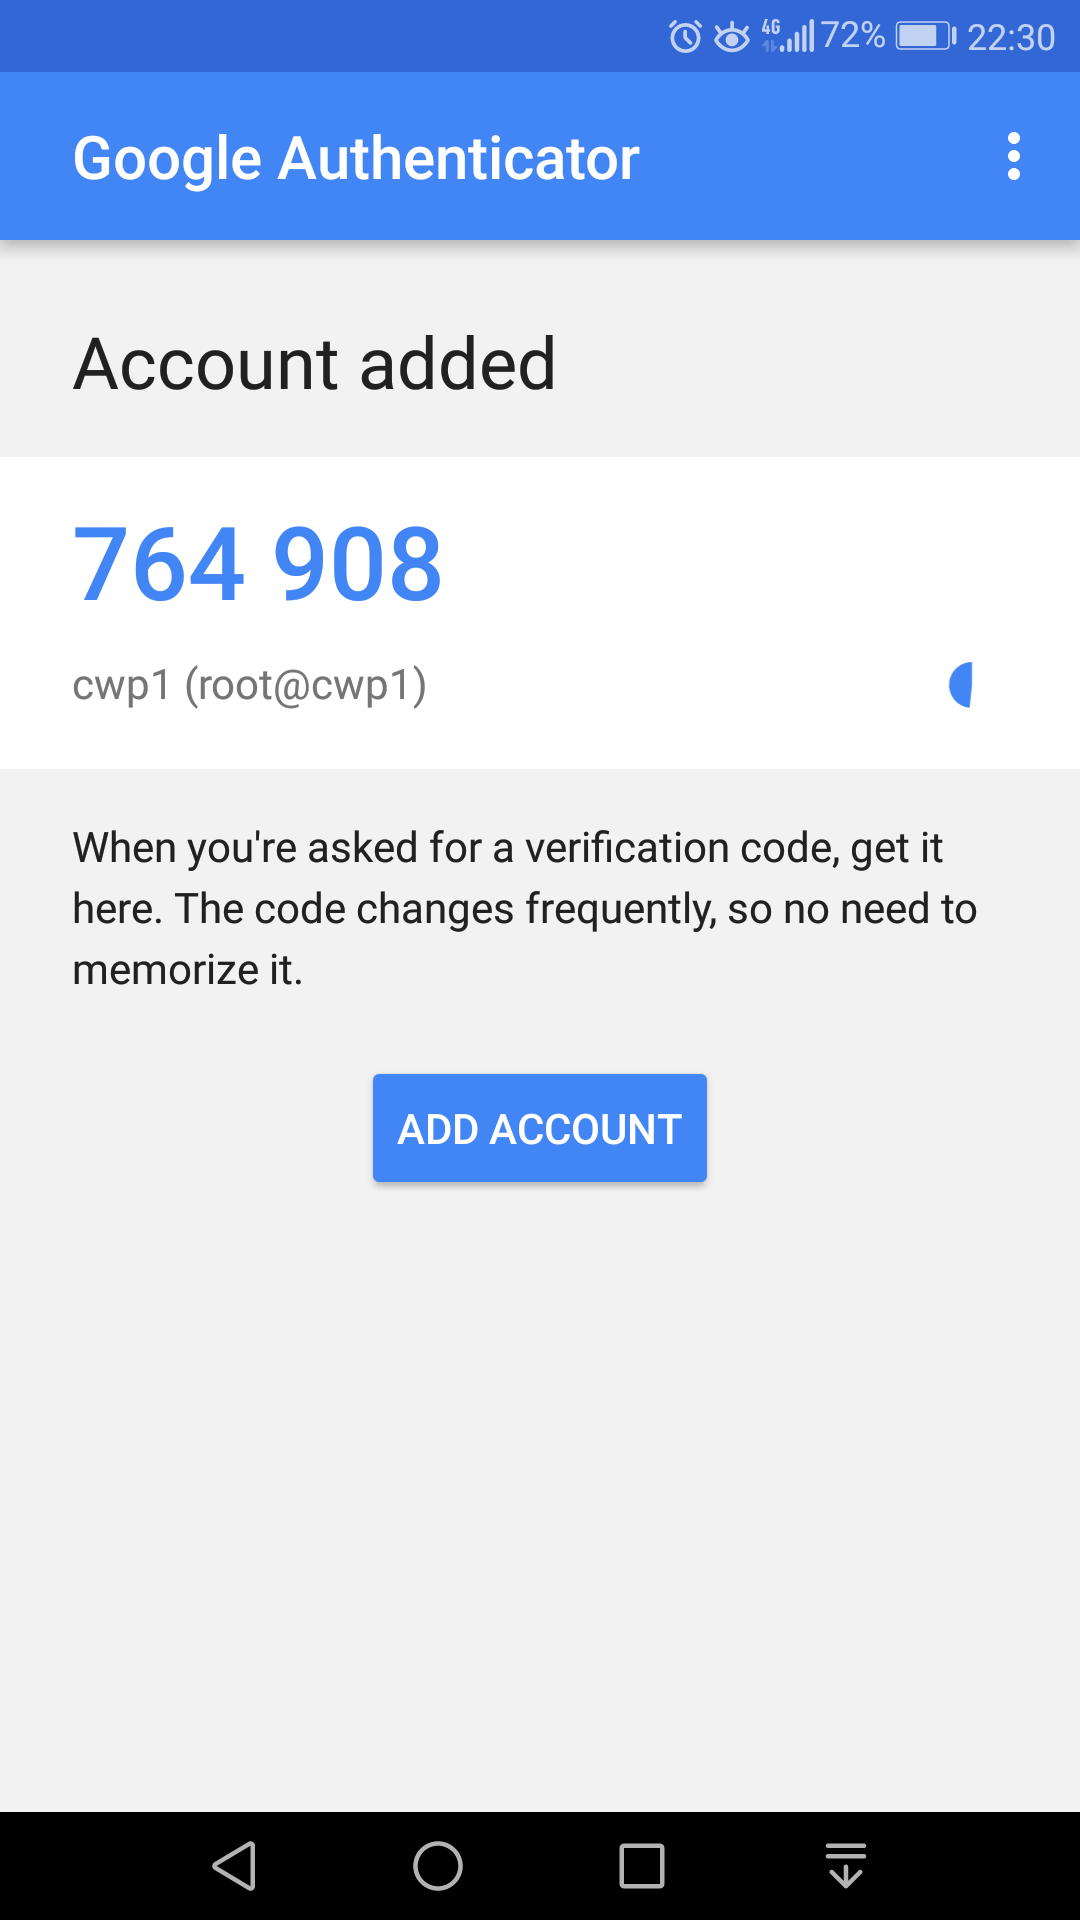
- Your root@server-name account will be added to Google Authenticator

- Now let’s configure PAM. Edit the file /etc/pam.d/sshd
[root@cwp1 ~]# nano /etc/pam.d/sshd
And add the line:
auth required pam_google_authenticator.so
So the top of the file looks like:
#%PAM-1.0
auth required pam_google_authenticator.so
auth       required     pam_sepermit.so
auth       substack     password-auth
auth       include      postlogin
- Now we must instruct OpenSSH to permit two-factor authentications. Open the file /etc/ssh/sshd_config :
[root@cwp1 ~]# nano /etc/ssh/sshd_config
Add the line (or comment out the line if it already exists):
ChallengeResponseAuthentication yes
- Restart the sshd server:
[root@cwp1 ~]# service sshd restart
Redirecting to /bin/systemctl restart  sshd.service
[root@cwp1 ~]#
Do NOT close the current SSH connection. Open another SSH connection and check if you are able to connect with the two-factor authentication. If you can’t connect, investigate the cause by checking the SSH log file – /var/log/secure . If you can’t fix the issue, undo the actions from 6.(editing the file /etc/pam.d/sshd) and 7.(editing the file /etc/ssh/sshd_config) to be able to connect only with the password. - Everything is set up at this moment. On the next logins, the system will ask for the verification code.
Related KB articles:
How to install nano editor with yum
Change the default SSH server port number

can you write also how to uninstall completely from server?