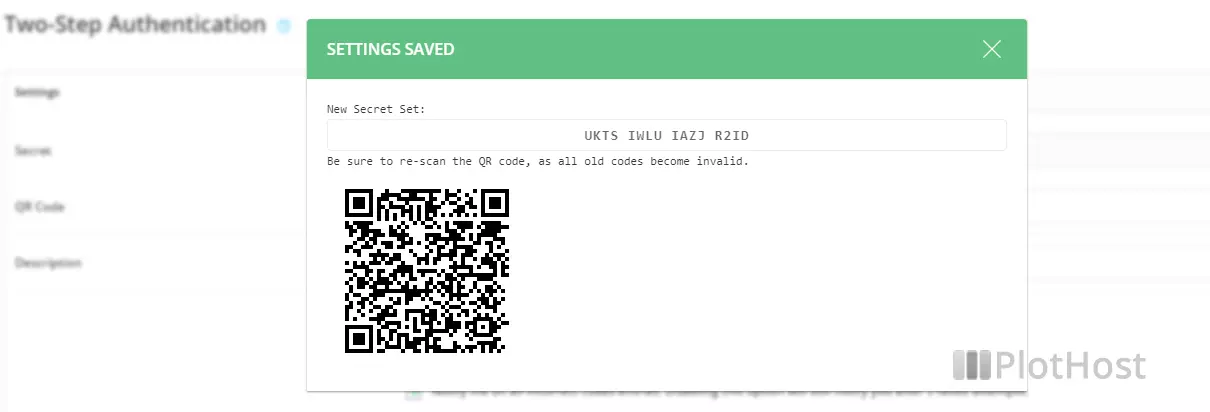
The Two-Step Authentication (2FA) system is used more and more in present days to log into sites/control panels. DirectAdmin offers the possibility to use 2FA with the assistance of the Google Authenticator software.
How to enable 2FA in DirectAdmin
1. Log into your DA account
2. Navigate to Advanced Features >> Two-Step Authentication
3. You will see a message – This feature is not turned on. Create a new secret to begin.
Click the GENERATE SECRET button to create a new key
4. A new secret key will be created – the key form is xxxx-xxxx-xxxx-xxxx. You will also see a QR code. Scan this code or enter it by hand in the Google Authenticator application on your smartphone.

5. Test if everything is ok. Enter the code you see on your smartphone in the field Test your phone’s code and click Test code. You should see a valid code message.
6. Enable the Require valid Two-Step Authentication Code to login to this account. option and click the SAVE button
7. Optional – if you want you can generate Scratch Codes to use in case you will not have access to the Google Authenticator application. Click the Scratch Codes tab and then the ADD CODES button. DA will generate 5 codes for you.
A short tutorial on how to enable DirectAdmin 2FA:
If you are an admin and you are looking to disable 2FA for a user, navigate to the file /usr/local/directadmin/data/users/USERNAME/user.conf and modify the twostep_auth value to no
twostep_auth=noAdditionally, you can also remove the files with the existing keys/codes:
/usr/local/directadmin/data/users/USERNAME/twostep_auth_scratch_codes.list
/usr/local/directadmin/data/users/USERNAME/twostep_auth_secret.txt
Links:
Google Authenticator for Android
Google Authenticator for iPhone/iPad
