After the admin created your package and user, you can now add your web domains. This is a very easy process in Vesta Control Panel. Let’s see how.
To add a new domain in your web hosting account in Vesta:
1. Access the VestaCP url – usually it’s domain.com:8083/login/
2. From top area choose Web section.

3. Now, click the ADD WEB DOMAIN button.

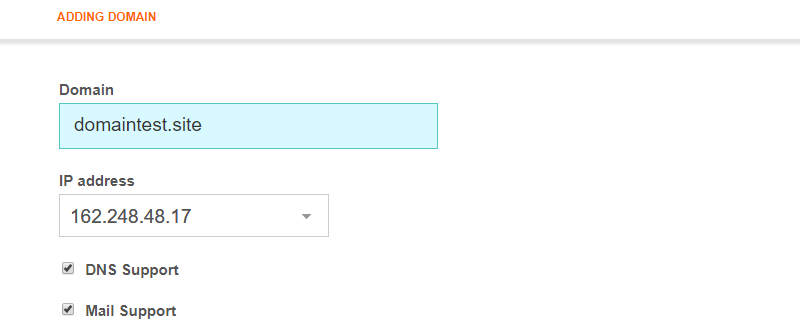
4. In the new window, enter the details for:
Domain – the new domain you want to host
IP address – choose from a list of available IPs
DNS Support – check for DNS support
Mail Support – check for Mail support

There is also a link to Advanced Options. You are able to select other options, like Prosy Support, SSL support, Web Statistics and if you want to create additional FTP accounts.
5. When done, click the Add button.
Don’t forget to update the nameservers at your registrar.
The movie tutorial for this post:
